Component Locations
Visual reference guide for all EDC components, storage locations, and edition-specific differences.
Overview
This page provides a comprehensive reference for locating all components within your HiveRadar EDC. Use this guide during setup, maintenance, or when looking for specific items.
What's Covered:
- Front and rear panel components
- Internal component layout (2 shelves)
- Storage locations in lids
- Edition-specific differences (NUC vs HR-01)
Front Panel Components
When front lid is removed, you'll see:
NUC PRO Edition
HR-01-2 Edition

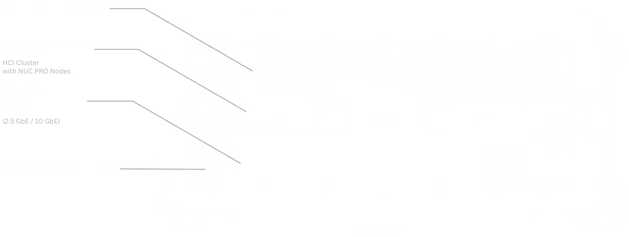
Compute Drawer
Location: Center, backlit drawer with server nodes
📦 NUC Edition:
- 3× Intel NUC Pro nodes (side by side)
- Labeled 1, 2, 3
- Individual bays with rubber dampening
- Access via pull handle
🔶 HR-01-2 Edition:
- 2× HR-01 Edge Server nodes
- Labeled 1, 2
- Full-depth server chassis
- Access via pull handle
🔷 HR-01-4 Edition:
- 4× HR-01 Edge Server nodes
- Labeled 1, 2, 3, 4
- High-density configuration
Accessing Drawers: All drawers (compute and storage) use twist-lock mechanisms on left and right sides. Twist either upward or downward ~90° to unlock. For complete drawer operation instructions, see Storage Drawers.
Switch
Location: Below compute drawer
All Editions:
- EnGenius ECS2510FP switch (8-port 2.5GbE) or ECS5512FP (10-port 10GbE; upgraded)
- Front-facing RJ45 ports (Ports 1-8)
- Status LEDs visible
- Management port accessible
Rear Panel Components
When rear lid is removed, you'll see:
NUC PRO Edition
HR-01-2 Edition
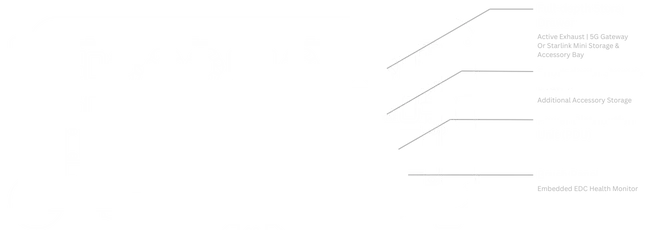
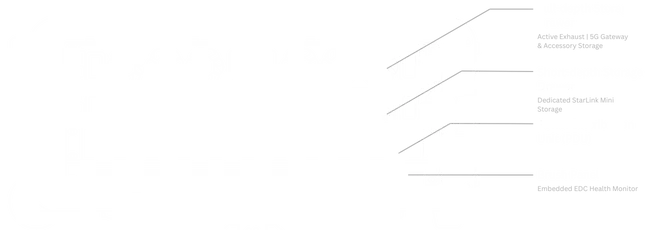
Full-Depth Storage Drawer
Location: Top drawer, full-depth
📦 NUC Edition:
- Carbon fiber telescopic pole
- Accessory pouch
- T-bar Bracket
- Gateway and associated antennas (if purchased)
🔶 🔷 HR-01 Editions:
- Carbon fiber telescopic pole
- Accessory pouch
- T-bar Bracket
- Gateway and associated antennas (if purchased)
Note: The HR-01-2 mode with 2 HR-01 Edge servers supports a configuration, where instead of the Mako 5600 Security Gateway or other device storage, you can accomodate storage for StarLink Mini instead by moving the clamps to accomodate it.
Rear Storage Drawer
Location: Above PDU, short-depth drawer
📦 NUC Edition:
- Starlink Mini dedicated storage space
- Power cable and adaptor for StarLink Mini
- Alternatively can be repurposed for other tools
🔶 HR-01-2 Edition:
- Too short for Starlink Mini
- Power cables and adapters
- Spare hardware
- General accessories
Power Distribution Unit (PDU)
Location: Below the short depth drawer
All Editions:
- EnGenius ECP106 (North America) or ECP106-INT (International)
- 6× power outlets
- LCD display showing power consumption
- Network port for monitoring
- Physical power switches per outlet
What's Next?
After familiarizing yourself with component locations:
📦 NUC Edition Users: 👉 Continue to Part 3: Hardware Installation to install compute nodes (if your EDC comes without pre-installed nodes)
🔶 🔷 HR-01 Edition Users: 👉 Skip to Part 4: Software Configuration (your nodes are pre-installed)